Building beautiful, high-performing websites shouldn’t mean starting from scratch every time.
That’s where Bricks Builder’s remote templates come to the rescue, making it easy to reuse, remix, and share your favorite designs across projects.
In this tutorial, we’ll walk you through every step to unlock remote templates in Bricks Builder.
Whether you’re a creative beginner, mentoring a teammate, or streamlining your agency workflow, you’ll find clear instructions and practical wisdom in every section.
Let’s dive in; and discover just how simple (and fun) it is to power up your workflow with remote templates!
TL;DR: Key Highlights
Here’s a super-quick summary of what you need to know, no scrolling required:
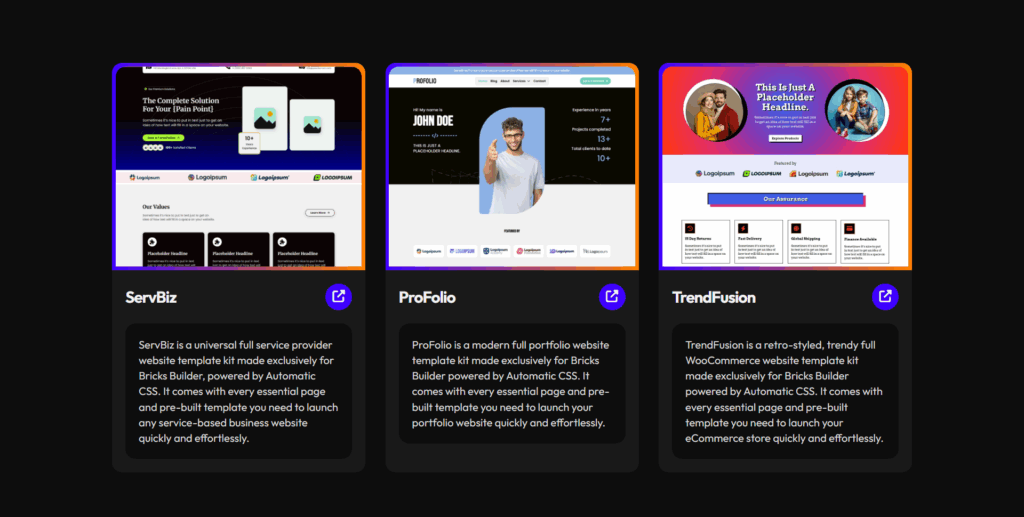
What Are Remote Templates?
- Instantly use templates from another Bricks Builder site; no files to export/import.
- Great for reusing designs between projects, teams, or clients.
Prerequisites Before You Start
- Assume Bricks Builder is installed, activated, and licensed.
- Have the remote template URL (and password if needed) from your template source site.
Adding a Remote Template Source
- In your WordPress dashboard, go to
Bricks → Settings → Templates. - Scroll to Remote Templates.
- Paste the remote template URL (plus name and password if needed).
- Click Add (Bricks 1.9.4+ allows unlimited sources).
- Click Save Settings.
Loading and Inserting Remote Templates
- Open or create a page and click Edit with Bricks.
- Click the Templates (folder) icon in the builder.
- In the Template Library, set the Source to your remote template library.
- Browse and Insert templates as needed.
- Enable “Import Images” if prompted for full designs.
- Don’t forget to Save your page.
Prerequisites Before You Begin
I’ll assume you already have Bricks Builder installed and activated on your WordPress site, and your license is set up.
Also, if you’re planning to load templates that depend on third-party add-ons like Automatic CSS or Core Framework, be sure to install and activate those plugins first.
Make sure to properly configure both the Bricks settings and any required add-ons so that your templates work seamlessly once imported to your site.
This will help prevent any compatibility issues and ensure your designs look and function as intended.
What You’ll Need
Remote Template Access:
- The website address (URL) for the remote template library you want to use.
- If required, the password for accessing the remote templates.
Tip: If you’re missing the template URL or password, check with your team lead or template provider!
Once you have those two things, you’re fully set to move on and start working with remote templates effortlessly.
Step 1: Add a Remote Templates Source (On Your Website)

To use remote templates from another Bricks Builder installation, follow these streamlined steps:
1. Access the Settings
- Open your WordPress dashboard.
- Navigate to Bricks → Settings → Templates.
2. Locate Remote Templates
- Scroll down until you see the Remote Templates section.
3. Add a Remote Template Source
- In the Name field, add the name of the remote template for easy reference.
- In the URL field, paste the URL provided by your template host.
- If a password is required, enter it in the Password field.
- To add more template sources, click Add. (You can register unlimited remote template URLs in Bricks version 1.9.4 and newer.)
4. Save Your Changes
- Click Save Settings button to apply and store your remote sources.
Tips for Success:
- Double-check the URL and password for accuracy.
- Your newly added remote templates will appear in the Bricks template library, ready to browse and insert.
- To manage sources, simply add or remove URLs as needed; the changes take effect immediately.
Now, you’re set to pull in powerful designs from anywhere and supercharge your workflow!
Step 2: Load and Insert Remote Templates

Make loading remote templates in Bricks Builder smooth and stress-free with these clear steps:
1. Open Your Desired Page
- In your WordPress dashboard, open or create the page where you want to add a remote template.
2. Launch the Bricks Builder
- Click Edit with Bricks to enter the builder interface.
3. Access the Template Library
- In the builder toolbar at the top, click the Templates icon (it looks like a folder).
4. Choose the Remote Source
- Inside the template library, find the Source dropdown.
- From the list, select your remote template source. You’ll now see all available remote templates, each with a visual preview (if the template screenshots were generated by the provider).
5. Insert Your Template
- Browse and choose the template you want.
- Click Insert to add it to your page.
6. Import Images (If Needed)
- If prompted, enable Import Images so all template images are brought in with the design.
7. Save Your Changes
- Once the template is loaded and you’re happy with the layout, click Save.
Note: Some templates might need a little fine-tuning, like relinking custom fields or tweaking styles, so everything fits your website perfectly.
Tips for a Smooth Remote Template Experience
Stay Up to Date
- Automatic Refresh: Bricks keeps your remote template lists up to date every time you open the template library, so you’ll always see the latest designs from your sources.
- Manual Refresh: If you suspect a template is missing, simply click the reload icon in the template library for a quick reload.
Using Multiple Sources
- More Variety: Enjoy greater inspiration by adding as many remote template URLs as you like. Each can be managed separately; perfect for agencies or large projects.
- Easy Management: Add or remove sources anytime in Bricks → Settings → Templates. All changes appear instantly in your template library.
Fast Troubleshooting
- Templates Not Showing Up?
- Double-check that the remote template URL is correct.
- Make sure you’ve entered the right password (if required).
- If access is restricted, verify that your site is included in the whitelist on the remote (host) site.
- Still stuck? Confirm the host site’s permalink structure isn’t set to “Plain”; it should be on any other option for templates to load properly.
Final Tip: Keep It Simple! Only add the templates you need; avoid clutter for a faster, clearer workflow.
Conclusion
By now, you’ve seen just how simple and empowering it is to work with remote templates in Bricks Builder.
You’re now equipped to pull in stunning designs, streamline your workflow, and spend less time reinventing the wheel with every project.
Remember, every template you load brings you closer to websites you’re proud to share.
Stay curious, experiment freely, and don’t hesitate to reach out to the Bricksism community if you ever get stuck; we’re building this journey together.
Keep it simple, keep it creative, and enjoy the wins (big or small) along the way.